



Working with forms
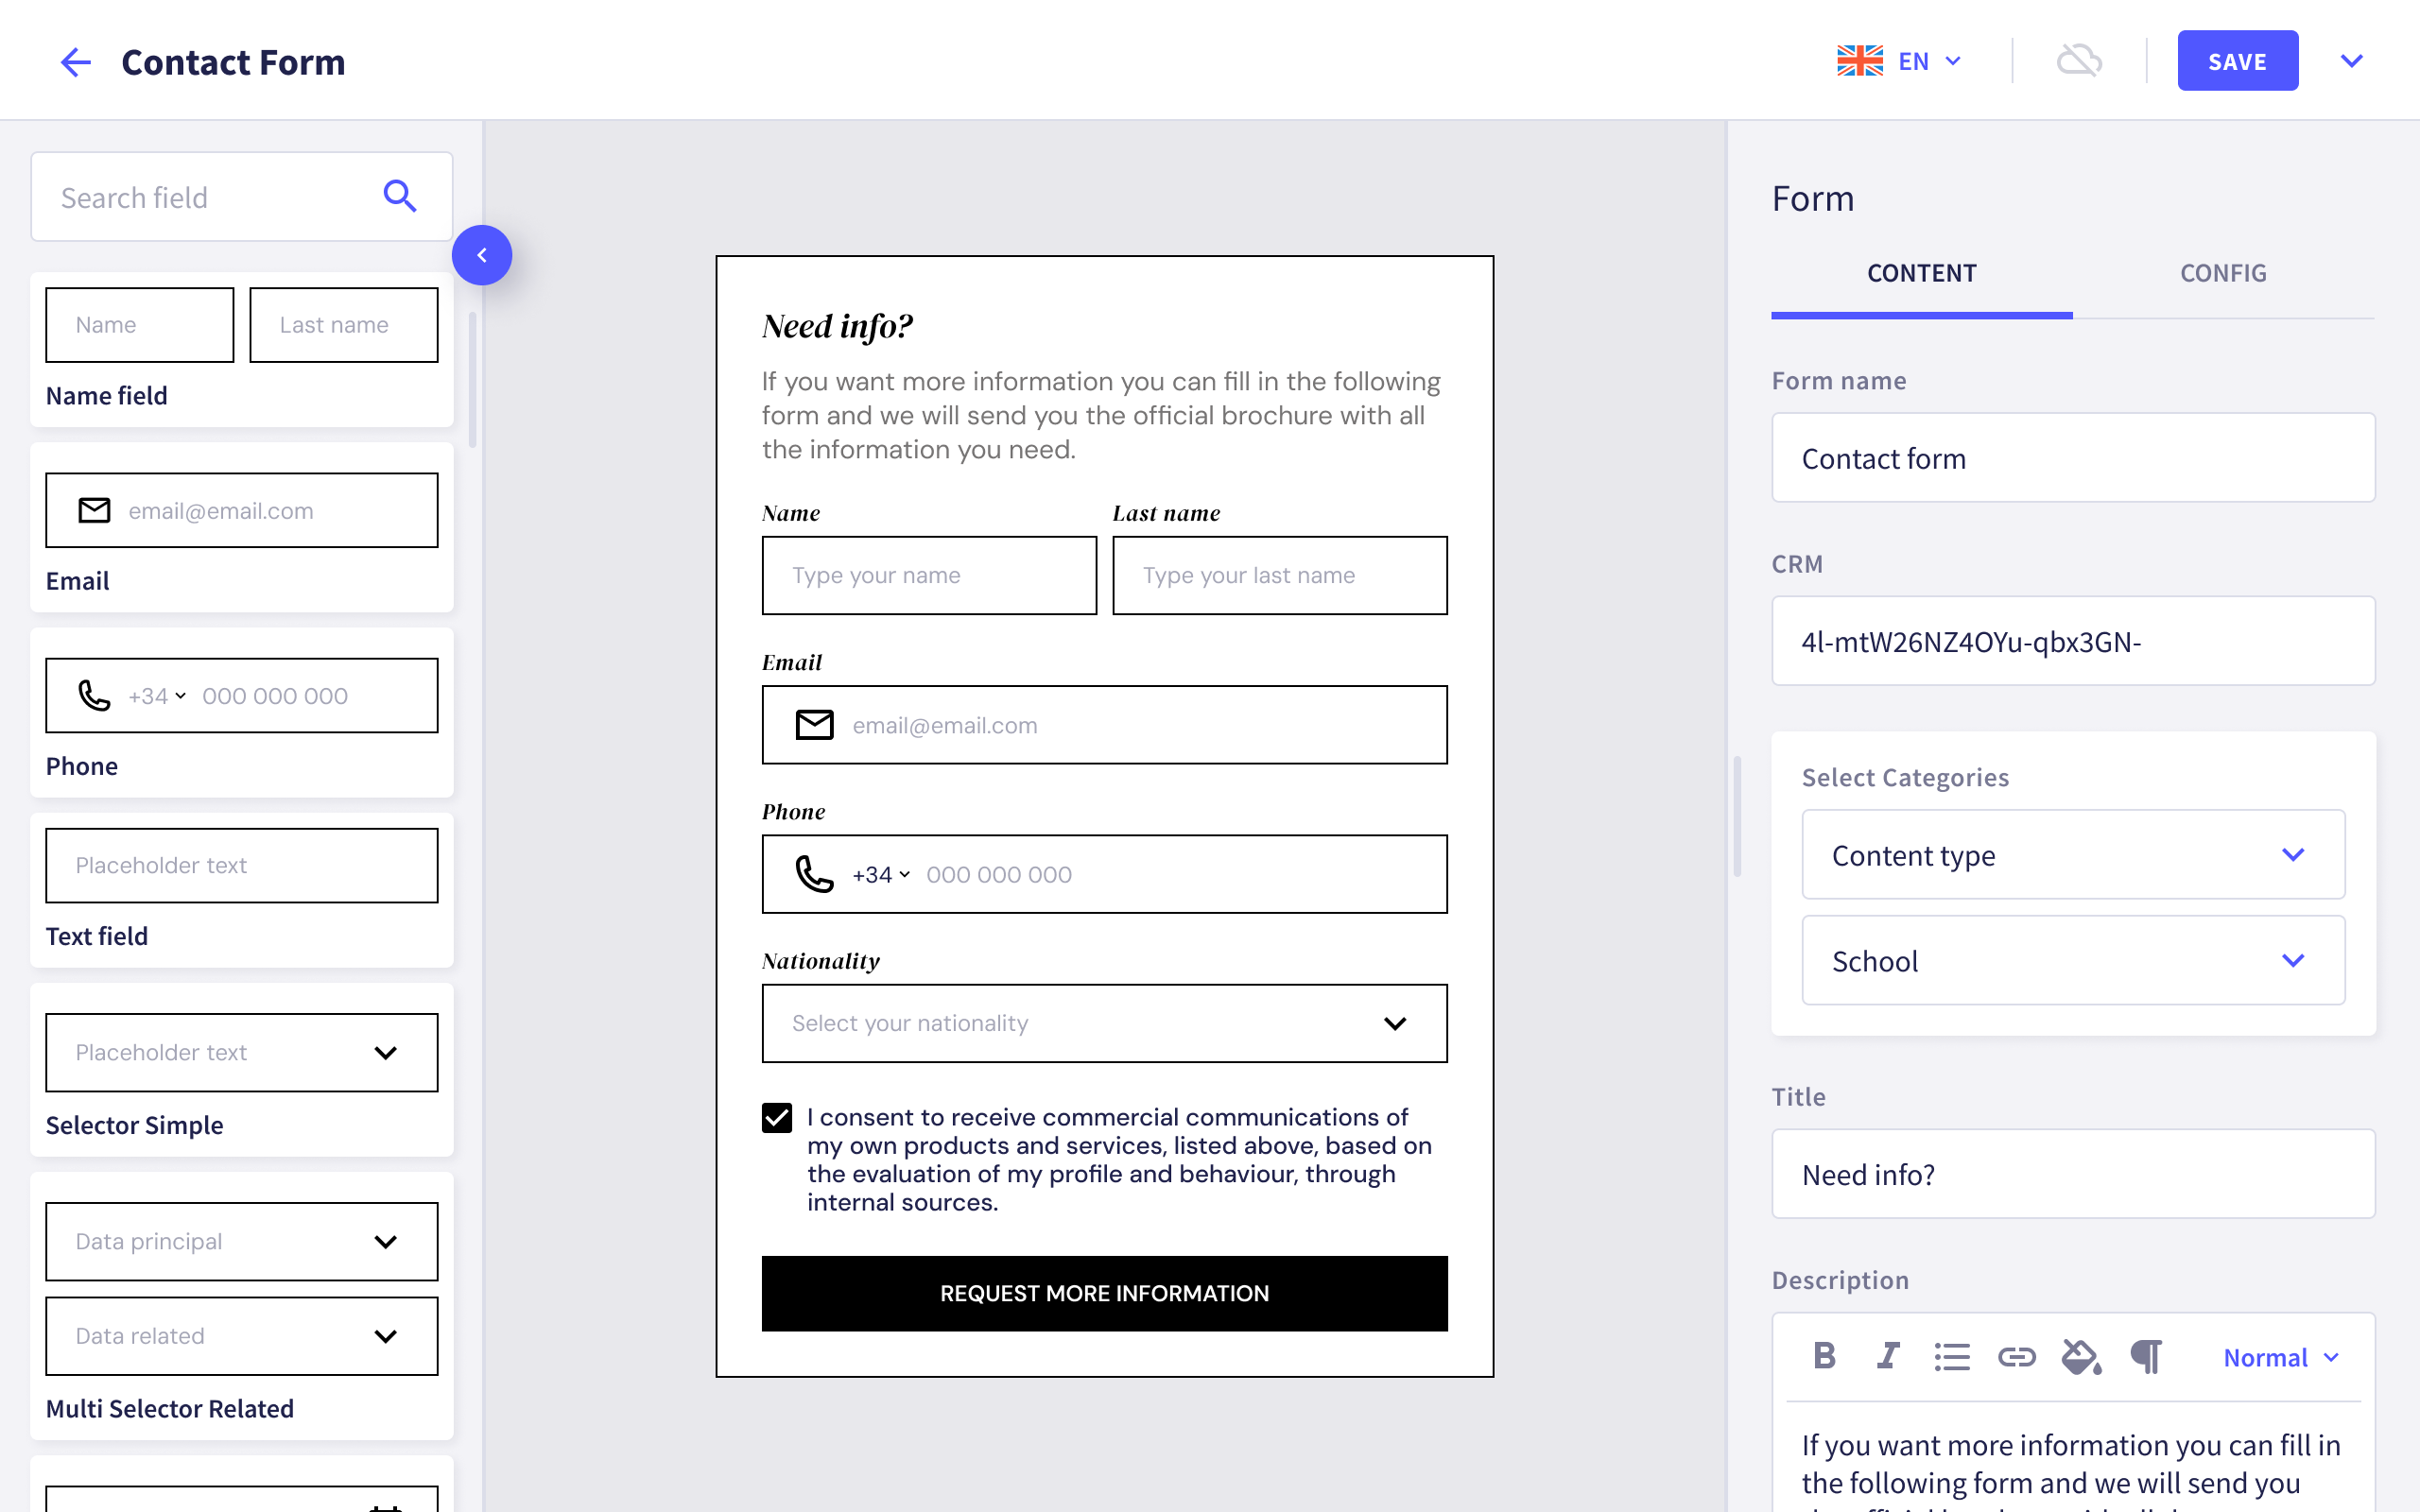
With Griddo’s Form Builder, you can create and customize forms to embed in your pages. Design as many forms as you need, arrange the fields however you like, and tailor each one to your needs.
Key features
Section titled “Key features”-
There are two types of Form Builder:
- Global, accessible from all sites.
- Per site, specific to each site.
-
Forms are created and managed in their own section, making it easy to reuse them across different pages.
-
They can be organized into categories to make them easier to find.
-
Editing is similar to editing pages: you add and reorder fields according to your needs.
-
They are translated the same way as pages, including automatic AI translation if enabled.
-
On the pages where forms are added, you can modify certain settings without affecting the original form.
-
Any change to a form is reflected on all the pages where it is linked, while keeping the customizations made on each page.
Global Form Builder
Section titled “Global Form Builder”The global Form Builder spans all sites. This means that all the forms we create here can be used on any site.
Local or site Form Builder
Section titled “Local or site Form Builder”This Form Builder is specific to the site, and the forms created here will only be available for this site. We can copy them to other sites, but they will not be linked and changes will not be reflected from one to another,
Creating forms
Section titled “Creating forms”To create a form in Griddo, follow these steps:
-
Create a new form: From the forms section, click the
Newbutton in the top bar. -
Select a template (optional): If your client has different form templates, a modal will appear so you can choose one before continuing.
-
Build the form: In the form editor, add the necessary fields. You can:
-
Add new fields from the left side panel.
-
Edit fields to configure specific options.
-
Reorder fields with drag & drop.
-
-
Categorize the form: To make it easier to find, assign categories from the right side panel.
-
Publish the form: When you have finished, go to the form actions and publish it.
Available actions with fields
Section titled “Available actions with fields”Just as we do on pages, we can perform three main actions with the fields of a form:
-
Copy: We can copy fields to paste them into any other form, whether on the same site or a different one. It will be kept on the clipboard until we paste it wherever we want. The pasted field can be edited independently of the original.
-
Duplicate: This action lets you copy and paste the same field within the form you are currently working on. The duplicated field will appear right below the original and is not saved to the clipboard. The content of the duplicate can be edited independently of the original.
-
Delete: We can remove a field we no longer need, as long as it is not required by the CRM. In that case, it will not let you delete it.
Editing a form
Section titled “Editing a form”You can edit a form at any time, but the process varies depending on whether the form is already in use on a page.
Case 1: Editing a form that has not been added to any page
Section titled “Case 1: Editing a form that has not been added to any page”If the form has not yet been added to any page, whether or not it is published:
-
Go to the forms section and open the form you want to edit.
-
Make the necessary changes (add, modify, or reorder fields).
-
Save the form and, if it was not published, publish it when it is ready.
Case 2: Editing a form in use
Section titled “Case 2: Editing a form in use”If the form has already been added to a page:
-
Go to the forms section and open the form you want to edit.
-
A warning banner will appear at the bottom indicating that the form is in use. You can check the pages that use it from the link shown in it.
-
Make the necessary changes.
-
When you save the changes, a confirmation modal will be displayed.
-
When you confirm the form update, the changes will be reflected on all the pages where the form is being used.
Unpublishing forms
Section titled “Unpublishing forms”If a form should not be available, you can unpublish it:
-
Access the actions: From the editor or the listing, select Unpublish form.
-
Confirm the action: A notice appears informing you that the form will no longer be available.
-
Updated state: The form switches to Offline and can no longer be added to new pages.
Translating forms
Section titled “Translating forms”You can translate forms from the editor or directly from the forms listing.
From the editor
Section titled “From the editor”-
Open the translation: Click the language flag to create a version in any of the languages active in Griddo.
-
Select a language: When you switch languages, a duplicate of the form is generated in the selected language. If there are translated taxonomies, the localized version will be used.
-
Translate the content: You can translate the fields manually or use AI translation.
-
Edit the translation: All translated texts are editable
-
Configure the translation: If the thank-you message or any other field is in the form settings, it will also be translated.
From the forms listing
Section titled “From the forms listing”-
Select the form: Hover over the form you want to translate.
-
Open the translation: Click the language flag and choose the version to create.
-
Enter the editor: The editor will open with the form duplicated in the new language.
-
Modify the translation: You can adjust any text field the same way as when translating from the editor.
Deleting forms
Section titled “Deleting forms”You can delete a form from the forms listing or from the editor itself.
To delete a form, go to the form actions and select the Delete option. If the form has versions in several languages, a window will appear so you can choose whether to delete only the current language or all versions.